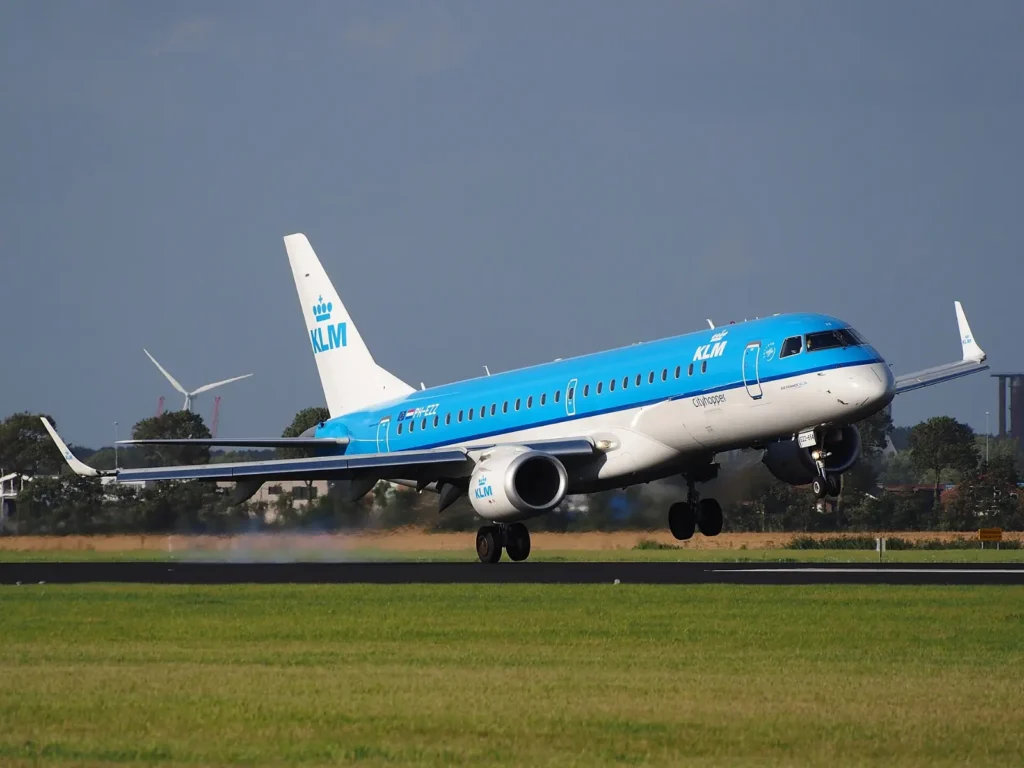
Crosswind landings sit at the intersection of everything that makes general aviation demanding: variable conditions, precise timing, and the need to manage three axes of flight simultaneously while the runway is rushing up at you. Most pilots understand the concept, but many have never been taught the technique with enough specificity to fly it instinctively when the wind is 15 knots at 60 degrees to the runway and gusty.
This guide covers the three techniques — crab, sideslip, and combination — in enough detail that you can build the right habit, not just understand the idea.
Calculate the Crosswind Component First
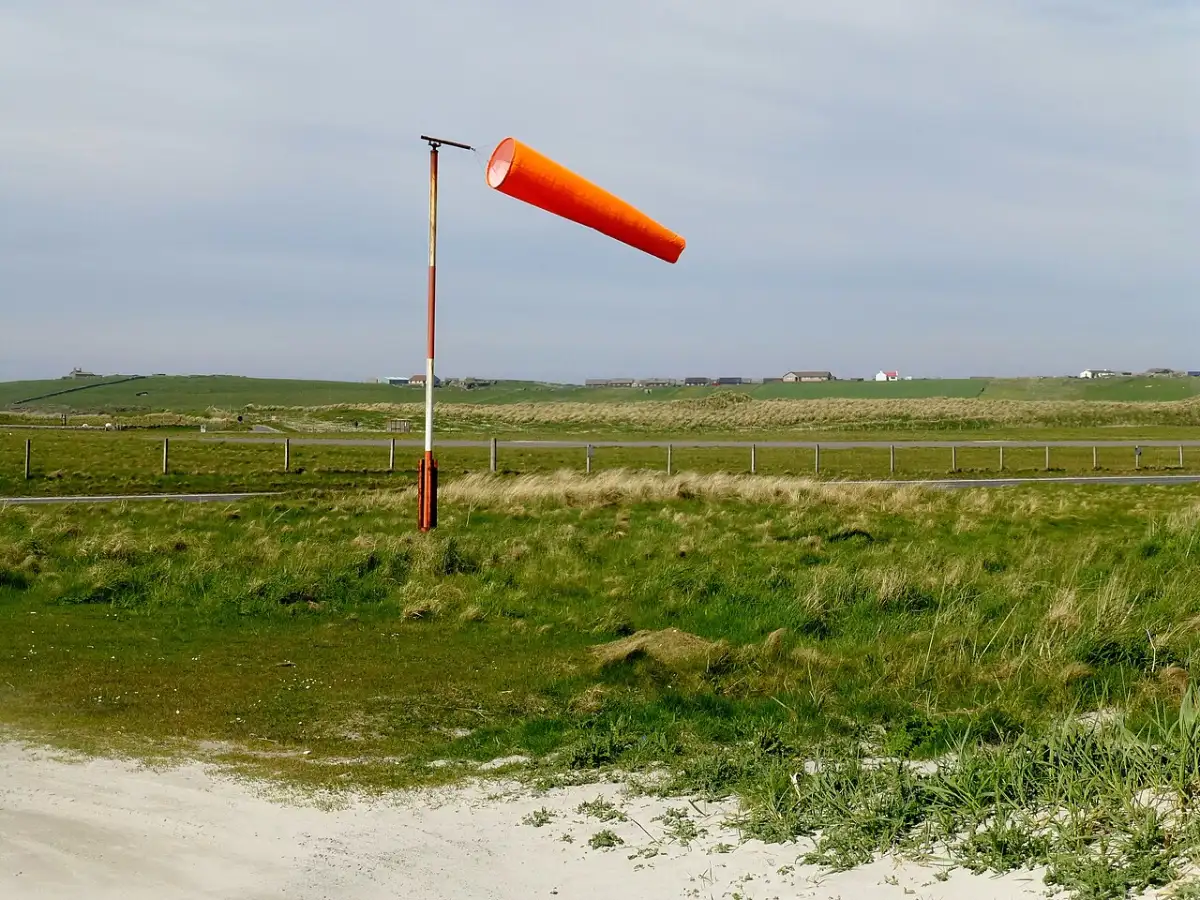
Before you brief your approach, know your crosswind component. ATIS gives you wind direction and speed; the runway number gives you its magnetic heading. The table below shows what percentage of the total wind speed becomes your crosswind component based on the angle between wind and runway centerline.
| Angle off runway | Crosswind component | Headwind component | Example: 20-kt wind |
|---|---|---|---|
| 15° | 25% | 97% | 5 kt crosswind / 19 kt headwind |
| 30° | 50% | 87% | 10 kt crosswind / 17 kt headwind |
| 45° | 70% | 70% | 14 kt crosswind / 14 kt headwind |
| 60° | 87% | 50% | 17 kt crosswind / 10 kt headwind |
| 90° | 100% | 0% | 20 kt crosswind / 0 kt headwind |
A quick mental method: at 30° off the runway, your crosswind is roughly half the total wind speed. At 60°, it is close to the full value. For the clock method, picture the wind direction as a clock position relative to the runway — if the wind is on your 1 or 11 o’clock, the angle is about 30° and the component is half the speed; if it is on your 2 or 10 o’clock, the angle is about 60° and you are close to the full speed.
For gusts, add half the gust spread to your approach speed. If ATIS reports winds 15 gusting 25, the gust spread is 10 knots. Add 5 knots to your Vref. This gives you the energy margin to handle the gust without stalling.
Know Your Aircraft’s Demonstrated Crosswind Limit
Every POH includes a maximum demonstrated crosswind component. This value comes from FAA certification testing, where test pilots must demonstrate control in a 90-degree crosswind of at least 0.2 Vso — that is, 20 percent of the power-off landing stall speed. Manufacturers typically test to higher values, but the placard value reflects what was actually demonstrated during testing, not a structural or aerodynamic absolute limit.
Common demonstrated values on a dry runway:
- Cub Crafters CC11 Carbon Cub: 11 knots
- Cessna 172 Skyhawk: 15 knots
- Piper Cherokee: approximately 17 knots
- Cirrus SR22T: 21 knots
- Cessna 208 Caravan: 20 knots
- Bombardier CRJ-200: 27 knots
- Boeing 757/767: 40 knots
Under Part 91, the demonstrated crosswind value is not a regulatory hard limit — there is no FAR that forbids a private pilot from landing in a crosswind that exceeds the demonstrated value. What it means in practice is that above that number, the aircraft has not been certified to behave predictably, and the pilot is operating in territory where control authority may not be sufficient. Flight schools, flight departments, and insurance policies routinely set limits at or below the demonstrated value. For wet, contaminated, or grooved runways, most operators reduce their personal limits by 20 to 25 percent.
As a student or low-experience pilot, start your personal crosswind maximum at roughly 50 percent of the demonstrated value and build from there.
Technique 1: The Crab Method
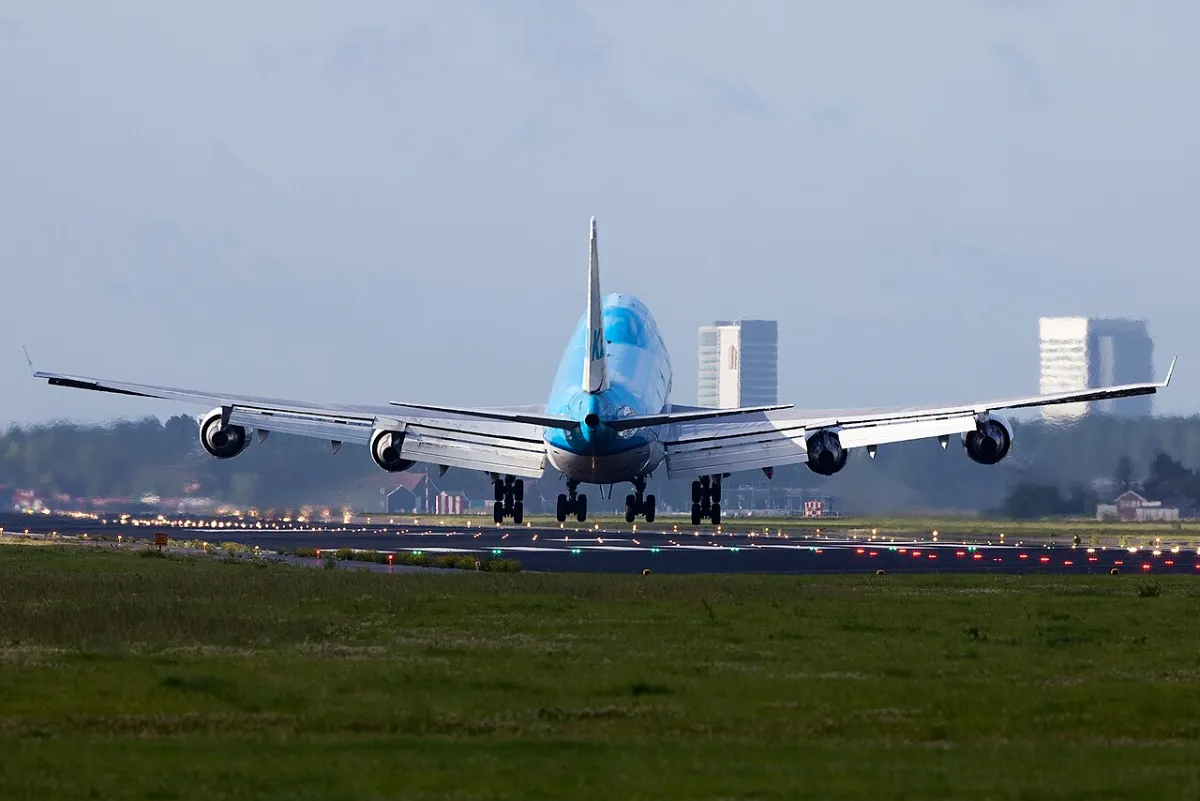
The crab method is the most aerodynamically efficient way to track the runway centerline on final approach. The wings stay level, and you point the nose into the wind so that the aircraft’s ground track aligns with the runway. You are flying in a coordinated state — no slip, no skid, minimum drag.
What you do, step by step:
- Turn to final and establish the aircraft on a track along the extended centerline.
- Apply a wind correction angle to hold that track. If wind is from the left at 15 degrees off the runway, turn the nose 5 to 10 degrees left of the runway heading until the aircraft tracks straight down the centerline. Use visual ground references (the runway threshold and centerline) and your heading indicator to judge whether your correction is holding.
- Fly the entire approach with wings level and nose crabbed into the wind. Adjust the crab angle as needed to hold the centerline. Wind at pattern altitude often differs from wind near the surface — expect to gradually reduce the crab as you descend.
- During the round-out, at approximately 20 feet AGL, apply rudder toward the upwind side to align the nose with the runway centerline. Simultaneously use aileron to prevent the upwind wing from rising.
- Touch down on both main wheels together.
The critical point: you must complete the transition from crab to alignment before the wheels touch. If you land in a crab, the side load on the landing gear is severe. On tricycle-gear aircraft with spring steel or oleo gear, repeated crabbed touchdowns cause accelerated gear wear and, in extreme cases, gear collapse. The faster your ground speed at touchdown, the worse the side load — which is one reason crosswind landings are especially hard to get right at high-performance airports with long runways and faster approach speeds.
When to use it: The crab method works well on long approaches in steady winds, particularly in higher-performance aircraft where carrying a sideslip for a long final approach produces meaningful drag. Many airline pilots crab on final and transition to alignment in the last few seconds.
Technique 2: The Sideslip (Wing-Low) Method
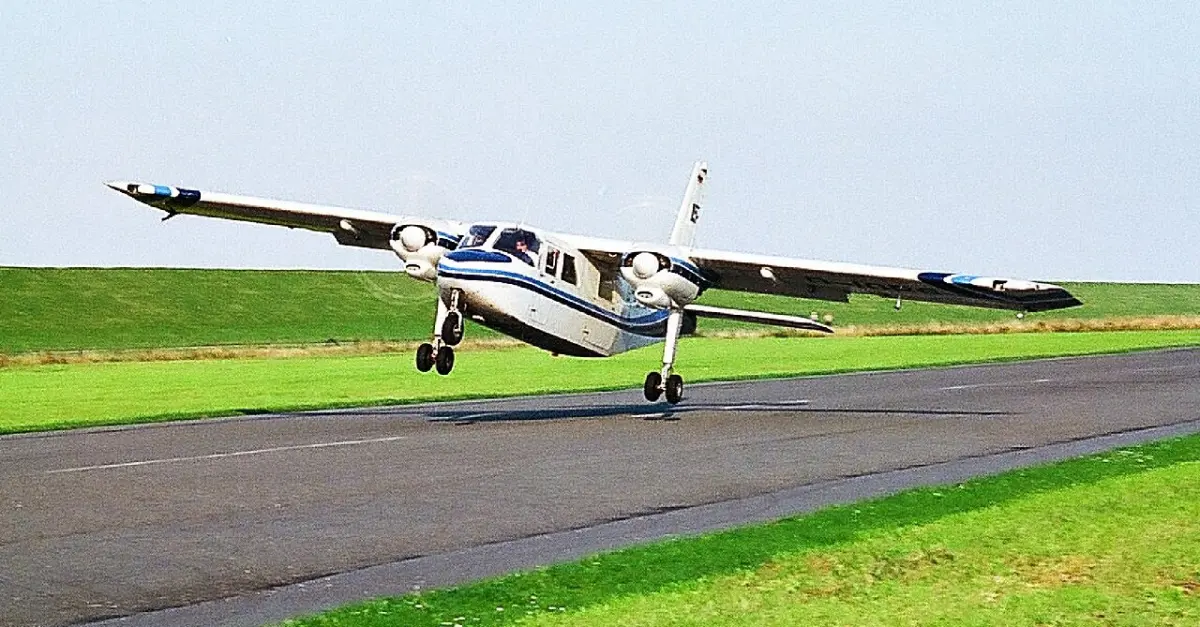
The sideslip method keeps the aircraft aligned with the runway throughout the approach using cross-controlled aileron and rudder. It is less aerodynamically efficient than the crab, but it eliminates the transition timing problem — the aircraft is already aligned with the runway at all times.
What you do, step by step:
- Turn to final and establish yourself on a centerline track.
- Apply aileron toward the upwind side to bank the aircraft into the wind. How much bank depends on the wind speed and your aircraft’s response — start with a small input and increase until the drift stops.
- Apply opposite (downwind) rudder to prevent the nose from turning in the direction of the bank. The rudder keeps the nose pointed down the runway while the aileron keeps the aircraft tracking the centerline.
- These cross-controlled inputs put the aircraft in a slip. It is an intentional, controlled slip — the same type as a forward slip used for altitude loss. The drag penalty is real; expect to need more power to hold the same descent rate.
- Adjust the bank angle throughout the approach as needed. If you are drifting downwind, increase the bank (more aileron into the wind). If the bank is excessive, reduce it. The rudder tracks the nose; the aileron controls the drift.
- Flare and hold the slip through touchdown. The upwind main wheel touches first, then the downwind main, then the nose wheel. Do not let the aircraft settle onto both mains simultaneously if you are still in a sideslip — the upwind wheel contact is intentional and correct.
- After touchdown, increase aileron deflection into the wind as speed decreases. At slow taxi speeds, full aileron deflection into the wind is correct. This prevents the upwind wing from lifting. Continue using rudder and differential braking to maintain the centerline.
When to use it: The sideslip works well for shorter final approaches and for pilots who prefer not to manage a last-second transition. It is easier to monitor drift correction visually throughout the approach. For student pilots, many instructors teach the sideslip exclusively at first because it removes the timing pressure of the crab-to-alignment transition.
What it costs: A prolonged sideslip on a long final in a Cessna 172 at 15 degrees of bank produces meaningful extra drag. You will burn more fuel and need more power. In training, this is a minor concern. In a cross-country into a blustery field with a long approach, it is worth noting.
Technique 3: The Combination Method
Most experienced pilots flying GA aircraft in real conditions use a combination of the two techniques, though many do not consciously describe it that way.
The combination method works like this:
- Crab on the downwind leg and much of final. Wings level, nose into the wind, tracking the centerline. This is efficient and stable.
- At roughly 50 to 100 feet AGL — depending on conditions — transition from the crab to the sideslip. Apply upwind aileron and opposite rudder simultaneously, so the nose aligns with the runway and the bank angle holds the track.
- Complete the flare and touchdown in the sideslip configuration.
When to transition: In steady wind, you can transition lower — closer to 50 feet AGL or even during the round-out. In gusty conditions, transition higher — closer to 100 feet AGL — so you have time to establish the correction before the gust changes what you need.
The combination method gives you the efficiency of the crab on the approach and the alignment certainty of the sideslip for touchdown. It is what most ATP-rated pilots default to in day-to-day operations.
The Rollout: What Happens After the Wheels Touch
Touchdown is not the end of the crosswind challenge. As your ground speed decreases, aerodynamic effectiveness decreases — but the wind is still trying to weathervane your nose and lift the upwind wing. The control inputs you need to hold the aircraft on the centerline must increase as speed falls.
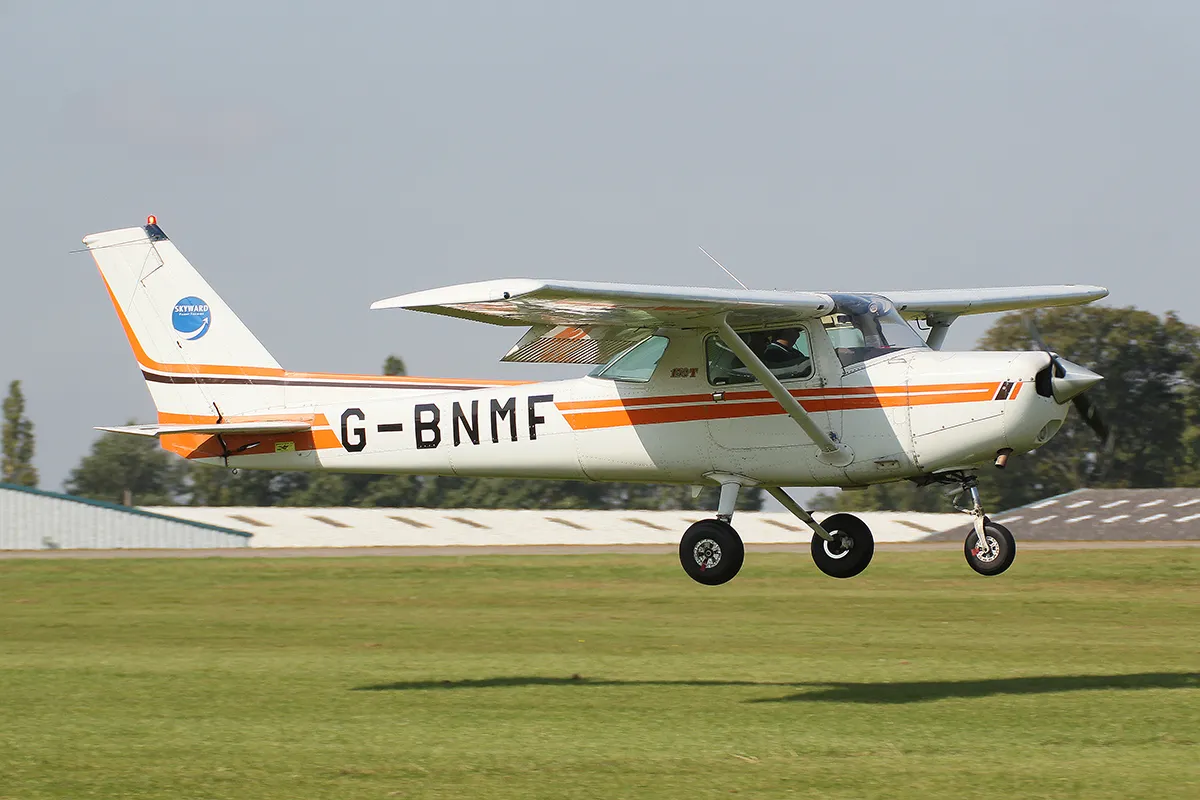
- Aileron: Continue to hold and progressively increase aileron into the wind throughout the rollout. At taxi speed, full aileron deflection into the wind is correct. Many pilots make the mistake of neutralizing the ailerons after touchdown; this removes the downward pressure on the upwind wing just as aerodynamic effectiveness over the control surface is still meaningful.
- Rudder: Use rudder to hold centerline. The weathervaning tendency (the nose wanting to turn into the wind) is strongest when you are slow. Anticipate it and counter it early.
- Braking: Smooth, equal braking unless you need directional correction. Locking a brake in a crosswind is an effective way to depart the runway edge.
The Turn From Base to Final: A Specific Hazard
Crosswind landings do not begin on final. The base-to-final turn is where many crosswind accidents actually start, and it deserves specific attention.
When the wind is a crosswind on the runway, it is a tailwind on base leg. A tailwind on base increases your groundspeed, so you close on the final turn point faster than expected. The natural reaction — adding more rudder to tighten the turn — is dangerous at pattern altitude and low airspeed. An uncoordinated base-to-final turn with a tailwind pushing you past final is one of the classic low-altitude loss-of-control scenarios.
The right technique on base:
- Anticipate the tailwind push. Begin the final turn earlier than you think you need to.
- Bank should not exceed 30 degrees. At pattern altitude in a light aircraft, a steep bank raises the stall speed and reduces the margin to a cross-controlled stall.
- If you overshoot final, do not try to salvage it with a skidding turn. Go around.
Go-Around Criteria for Crosswind Approaches
The stabilized approach concept applies especially to crosswinds. Establish clear go-around criteria before you turn final, and brief them to yourself out loud.
Standard go-around triggers for a crosswind approach include:
- Not on centerline, at the correct speed and configuration, by 500 feet AGL
- Crab angle exceeding approximately 30 degrees and not decreasing — this usually means the crosswind is beyond the aircraft’s capability or the technique is not working
- Airspeed deviation beyond 10 knots from target Vref in either direction
- Centerline not held within one-third of the runway width
- Alignment with the runway not achieved by 100 feet AGL (using a combination approach)
- Running out of rudder authority — if full rudder deflection cannot align the nose, the crosswind has exceeded the aircraft’s limit
The go-around decision is easier to make if you have committed to a specific decision point before you turn final. “If I am not stable and aligned by 100 feet, I am going around” is a crisp mental rule. “I’ll see how it looks” is not.
Common Errors and What They Cost
Landing in a crab. Touching down with the nose pointing somewhere other than the runway direction produces severe side loading on the landing gear. The result ranges from accelerated tire wear to gear collapse on retractable-gear aircraft. The faster the groundspeed, the worse the side load.
Leveling the wings before touchdown. If you are in a sideslip and you relax the aileron, the aircraft stops tracking the centerline and drifts downwind. You will touch down sideways or off-centerline. Hold the bank until the wheels are on the pavement.
Relaxing controls after touchdown. Neutralizing the ailerons after the wheels are down allows the upwind wing to rise with aerodynamic force still acting. This is how tailwheel aircraft ground loop, and how nosewheel aircraft weather-vane sharply and depart the runway edge.
Trying to grease the landing. A crosswind landing is not the time to minimize touchdown speed for a smooth arrival. Land at the approach speed plus gust addition — a firm, positive touchdown is correct. Attempting to float the aircraft to minimum speed in a crosswind allows the aircraft to drift.
Excessive rudder on final. Applying extra rudder to get back to centerline while failing to bank into the wind leaves the aircraft skidding, not slipping. The fuselage, not the upwind wing, is trying to stop the drift. The technique is aileron for drift, rudder for alignment — in that order.
Delaying the go-around. Every second past your decision point is a second lower, slower, and closer to the threshold. A go-around from 50 feet in a crosswind is a normal maneuver. A go-around from three feet with the upwind wheel about to touch in a crab is a potential accident.
Crosswind Practice That Actually Builds the Skill
Crosswind landings are not built on occasional exposure. They require deliberate practice in real conditions.
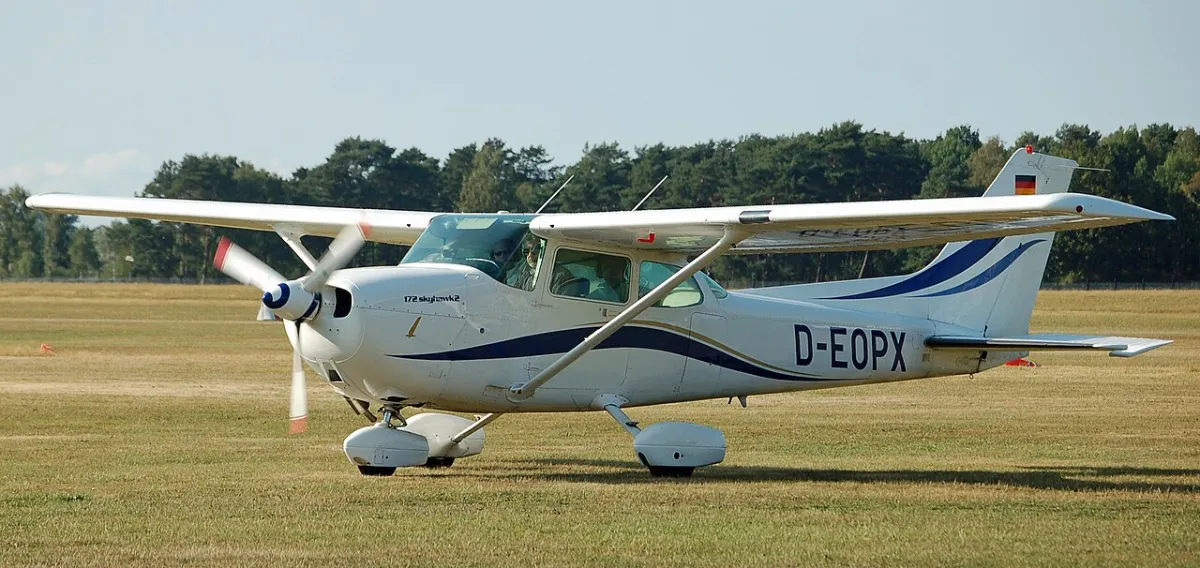
A productive practice session looks like this:
- Find a day with 8 to 12 knots of crosswind — meaningful, but within your personal limit and well within the aircraft’s demonstrated limit.
- Do five or six full-stop landings. Not touch-and-goes, because touch-and-goes rush the rollout and do not let you experience what happens to the aircraft as it slows to taxi speed.
- After each landing, brief yourself out loud on what the aircraft did, what you did, and what you should do differently.
- On some runs, deliberately use the crab method. On others, use the sideslip. Build the ability to execute both on command.
- Try the combination method, with explicit attention to the transition altitude.
If you have an instructor available for even one of these sessions, the feedback on your technique is worth more than three sessions alone.
A Final Note on Personal Limits
Your personal crosswind limit should sit below your aircraft’s demonstrated limit, particularly if your recency in crosswinds is low. A pilot who last practiced crosswinds six months ago should not plan a solo flight into a field reporting 14 knots at 70 degrees on a wet runway just because the Cessna 172’s demonstrated limit is 15 knots dry.
Build your personal minimum from honest self-assessment. How many crosswind landings have you done in the last 90 days? How often do your landings reflect precise technique rather than muscle memory that happens to work? The aircraft can handle more than you can when you are out of practice, and knowing that difference is what experienced pilots mean when they say weather judgment comes from experience, not just charts.
Crosswinds are a permanent feature of real flying. The pilots who handle them well are not those who happen to have the most natural talent — they are the ones who practiced the technique specifically, with real feedback, until it became a reflex.

